Lemmi guess....you just assumed we forgot all about our kitchen remodel since it has been months since I posted any updates? You would be somewhat correct. After we got it back in working order, the little details fell by the wayside. Trim work, painting, and touch-ups were put on the back burner the second the sun started to break and the weather got warm. We moved the party outdoors and left the kitchen to tend to the patio. The ultimate push came when we decided to host my sister's college graduation party. We finally had an excuse/reason to finally finish the little things. With the party being held this past weekend, the kitchen got a thorough cleaning and was ready for its close-up.
Let's backtrack a minute though, just in case you forgot where it all started. Make sure you've checked in to the first 2 installments (
here &
here), and the
accessorizing I did to get to this point.
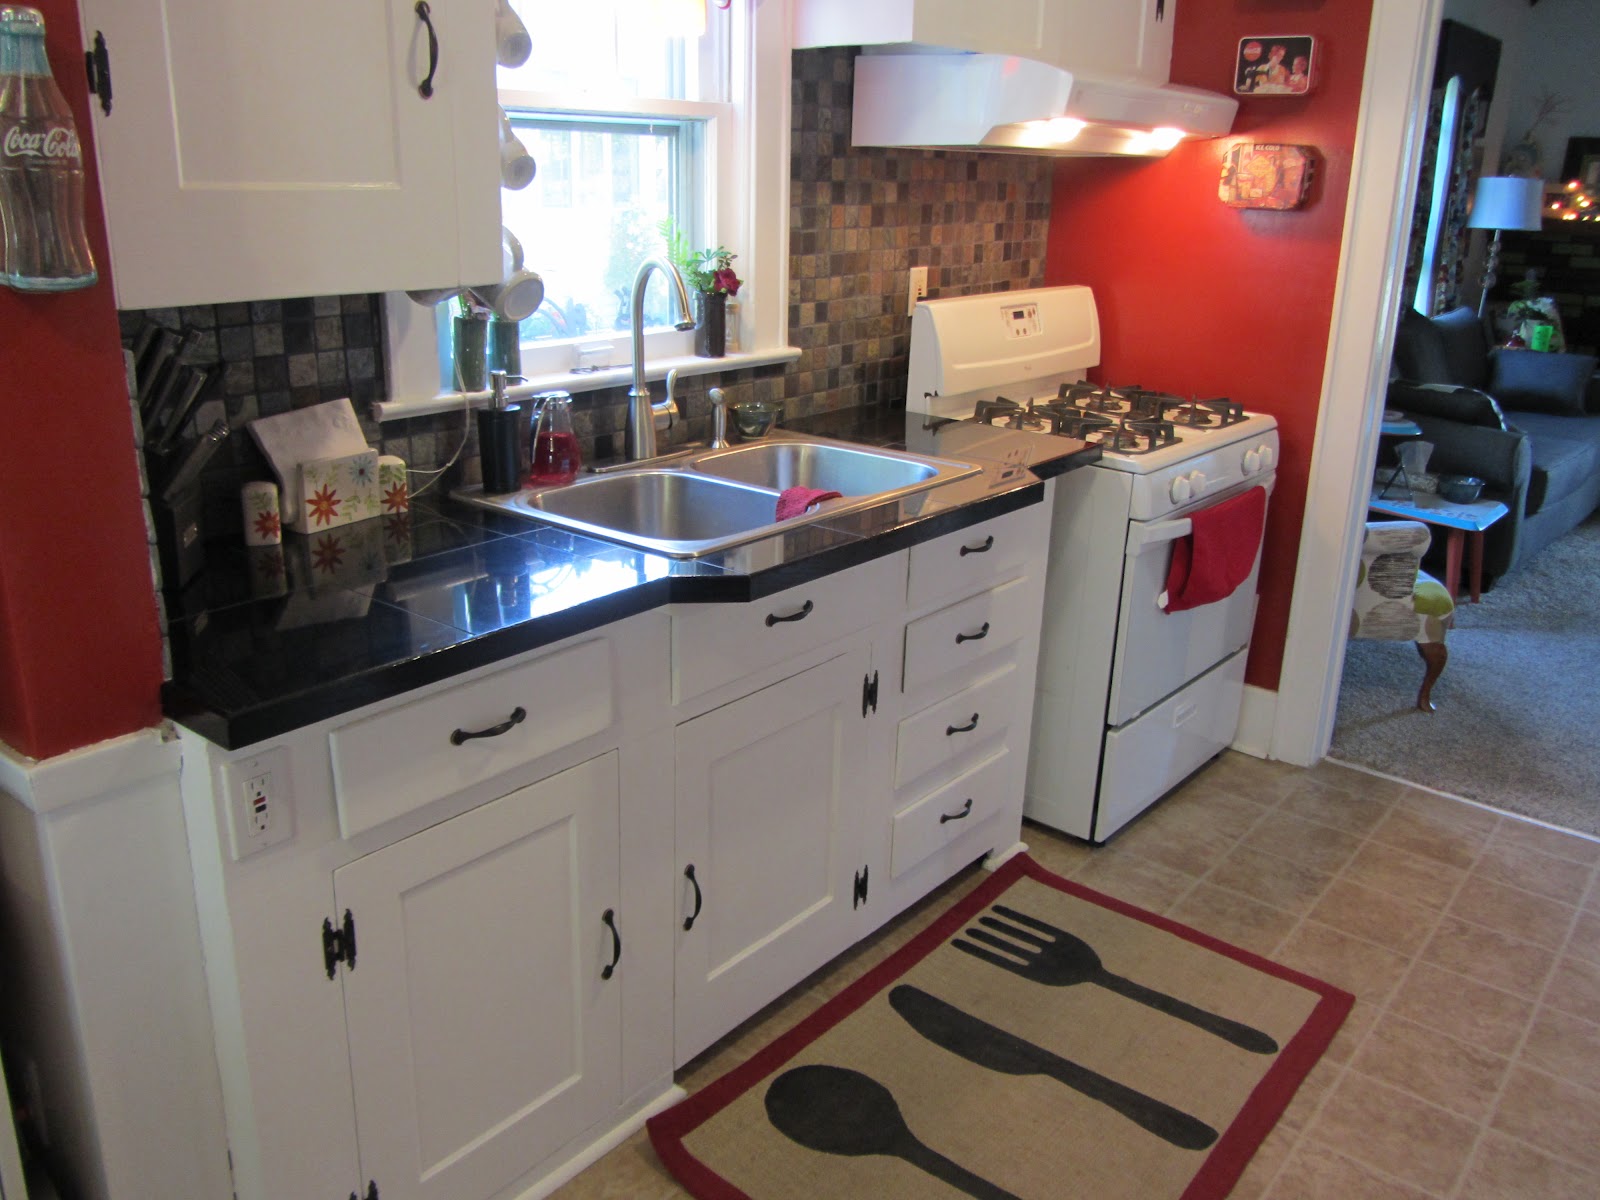
Since we last updated our progress, we were able to bust out my new router and table to give the counter trim a rounded edge and look more finished. The cabinets got a fresh coat of crisp white paint, the new range hood was installed, and the backsplash was installed and grouted.
Here we go!
 |
| Before (from living room) |
 |
| After (from living room) |
 |
| Before (from dining room) |
 |
| After (from dining room) |
 |
| Before (from back foyer) |
 |
| After (from back foyer) |
We worked really hard! With all the cabinets being original to the 1930s house, there was A LOT of modifications....remember I was planning this for a weekend project (important tidbit I am often reminded of!). But, as a recap, we were able to extend the length of the counter by about 2 inches - it doesn't sound like a lot, but trust me...it is. We also added the angled part to the front of the counter. It really helps serve as a ledge to rest things, and allowed us to pull the sink further from the wall.
 |
| Before view of behind the sink |
 |
| After view of behind the sink |
That tiny smidge of counter you see behind the sink ledge was all we needed to make the new sink sit correctly.
Here's another view of the counter space to the left.
 |
| Before - left side of counter |
 |
| After left side of counter |
We also added some fancy trim pieces for the edges.
 |
| Trim being added |
 |
| Trim drying |
 |
| Trim painted and done! |
And that, my friends, is how you remodel a kitchen! Total budget came out a liiiiiiiiittle bit higher than I planned for, but we did everything ourselves (we considered buying ready-made cabinets for about a millisecond) and we modified existing elements as much as possible. It really was the final touch to redoing our home. Now we need to move so we can work on something else! :)


You did an awesome job on your kitchen,a girl after my own heart. Loved it that your repurosed as much as you could,we are in the middle of our budget kitchen redo,we have the cupboards to do,but cannt decide on chalk paint not. My house was built in the 50's so we are trying to keep all the cool elements,like plate racks and shelves over the windows , again your looks awesome.
ReplyDeleteThank you so much! Definitely repurpose as much as you can - nothing compares to the way older homes were built. I love the character they have - no two are alike! Thanks for stopping by the blog :)
ReplyDelete